Have you designed your first honey label? Now you might be wondering if everything really fits together. We’re here to help! With our tips and a free checklist, you can be confident that your label will look clear, credible, and premium, without needing a design degree.
How to Nail Your First Honey Label: 5 Key Tips
1. Credibility: The content matches the label. What does that mean exactly? Your label should honestly reflect your values and showcase the unique qualities of your honey.
Example: If a natural look is important to you, designs like Natural Nadja and Floral Fiona are a perfect match for both you and your honey.

2. Uniqueness: It’s important that your design fits both you and your honey. At the same time, your honey label should stand out! Add custom graphics to bring a personal touch to your design.
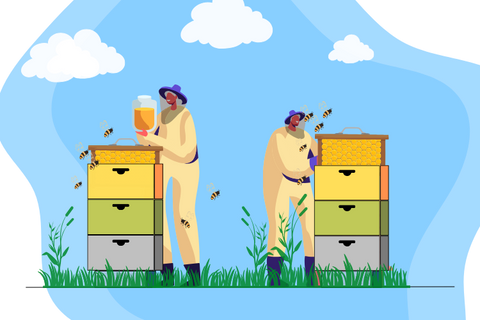
Example: Is your beekeeping operation a family business? Consider uploading a family photo and including it on your label so everyone knows who’s really behind the honey.

3. Consistency: Using the same fonts, colors, or graphics across your labels increases the recognizability of your honey. If you’re also making labels for other products, we recommend using the same design series for all of them.
4. Accuracy: Before placing your order, take a careful look at your honey label and check all graphics and text. Sometimes it’s helpful to have someone else review it as well
5. Quality: Make sure your honey label looks great on screen before printing: check that the colors have good contrast, the text is easy to read, and all elements are sharp, exactly how it should look on the jar! At honeystickers.com, we place great importance on clean, high-quality printing.
With our free checklist, you can see everything that matters at a glance. There’s no need to dig through the article because your five key points are all in one place. Best of all, you can check them off as you go, making it easy to do a final review before ordering your honey label!

3 Design Rules for Experts
Feeling like a true honey label design pro? Here are three extra design rules just for you:
Rule of Closure: Using borders helps group related elements and organize your label visually. Framing the product name “Honey” draws attention to it and separates it from other details, like storage or expiration information. This makes the key information stand out clearly.

Rule of Similarity: If you have multiple honey varieties, it’s best to use the same design series with consistent graphics and fonts. Using a consistent look helps customers immediately recognize that all the products come from the same apiary.
Tip: Offering multiple honey varieties? Differentiate each one with distinct color schemes while keeping a consistent core design.
Rule of Proximity: Elements that belong together should be placed close to each other. For example, the phrase “Best before” should appear directly next to or above the date. This keeps your label organized and makes it look more harmonious overall.
The Final Touch for Your Honey Label
Now it’s your turn! In your account, you can access all your designs and edit them again. This gives you the chance to go through the tips step by step, at your own pace. Perfect your first honey label with just a few clicks: small, targeted changes can make a big difference!

Sources:
Honigetiketten: Tipps für Imkerinnen und Imker (2024). etikett.de. https://etikett.de/blog/honig-trends-traditionen-tipps-fuer-imkerinnen-und-imker/
EU-Etikettierungsbestimmungen für Honig (2024). EUR-Lex. https://eur-lex.europa.eu/legal-content/DE/TXT/?uri=legissum:l21124a
Honigverordnung (HonigV) (2004). Bundesministerium für Justiz und Verbraucherschutz. https://www.gesetze-im-internet.de/honigv_2004/BJNR009200004.html
Wegner, G. (o. D.). Gestaltgesetze: 7 geniale Regeln, die deine Designs besser machen. Achtung Designer. Zuletzt abgerufen am 24.03.2026, von https://achtung-designer.com/gestaltgesetze-die-designs-besser-machen/